Ever wanted to design and make your own PCB? In this note I share some key insights and experiences from designing the S1-AU Mk1.
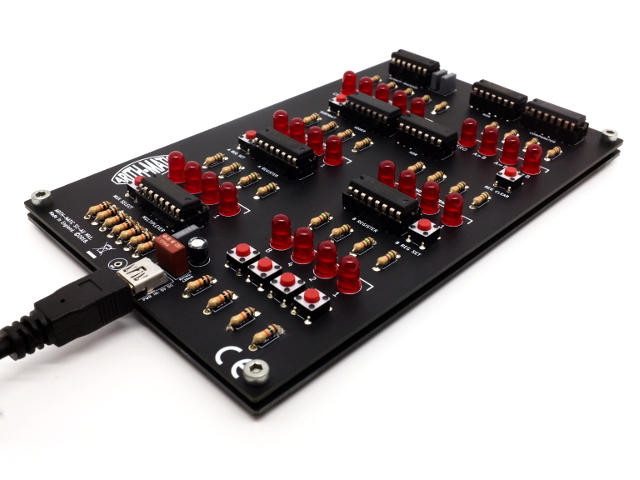
The S1-AU Mk1 is a DIY electronics kit designed to help makers, computing enthusiasts and hobbyists explore the guts of computing in a practical and hands-on way.
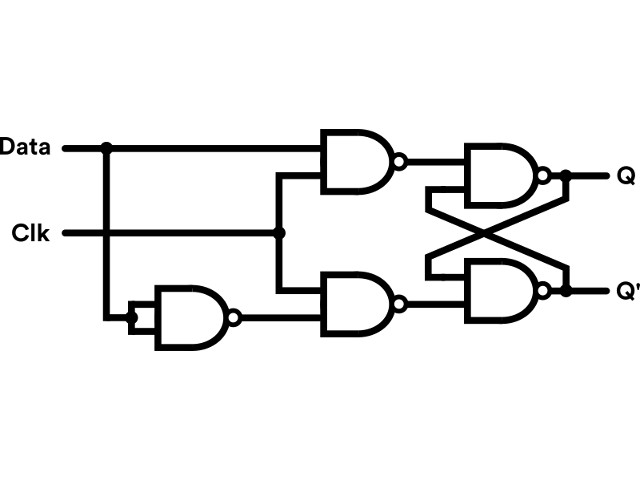
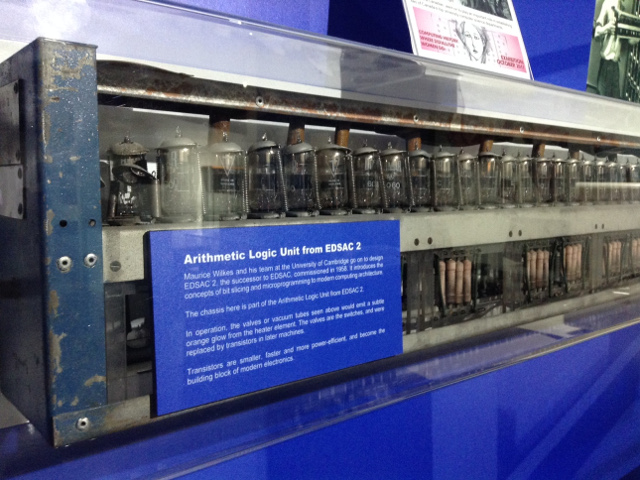
Its genesis began in late 2016 after a visit to the 'Museum of Computing' in Swindon, England. Inspired by the computational objects on display, I sat down late one evening at my kitchen table and started building a 4-bit arithmetic unit from spare 7400 series ICs. What unexpectedly emerged next was not only a rather unwieldy proof of concept but the seeds of a project which has since turned into a successful micro-startup!

The most important part of this journey, however, was the development of the S1-AU PCB. Designing PCBs was not something I was hugely familiar with when the project started - but just how difficult can it be? I naively thorght at the time...
Designing anything from a blank slate, let alone a PCB, always sounds exciting. But after the initial enthusiasm fades and design inertia kicks in you are reminded that things don’t just magically fall into existence through imagination alone. Instead things emerge through a process of learning, managing failure and drawing on the knowledge of others - the design of the S1-AU PCB has been no exception.
In designing a PCB you may be hit with a whole range of challenges which are solved by learning new practical electronics skills, by utilising advanced EDA workflows, by spending money, by investing time in researching components, by seeking and building new relationships with PCB manufacturers, and so much more. The list is endless!
But what I've learnt from the project is that PCB design isn’t just about following a functional process, and it’s not really about tweaking settings in KiCad or Fritzing or knowing the difference between PCB surface finishes. It’s actually a human problem which requires imagination, audacity and unwavering perseverance to turn an idea into something real - something with a soul.

Working through the process of prototyping PCBs for the ARITH-MATIC project has been very rewarding, but what I have really gained is a whole new appreciation for developing hardware projects. So here are a few 'design rules' that I'd share with any aspiring PCB artisan:
1. Set design constraints early on. When designing from a blank slate, prime your brain to break free from the problem space rather than drowning in a pool of possibilities. For all of the S1 (Series 1) PCBs, an early constraint was to decide on and fix the dimensions: 100mm x 162mm. Doing something as simple as this reduced the design possibilities from overwhelming to manageable.
2. Use pencil and paper to get thoughts from your brain into the world. It may sound very analogue but sketching on paper allows your brain to follow unexpected paths. Using EDA tools only allows you to follow paths that the computer can interprete. It’s restrictive and traps you into a particular way of looking at the world. All of the S1 PCBs were initially designed in a trusty sketchbook. Without this, the ARITH-MATIC project wouldn’t have got off the ground.

3. Stare at physical objects - not screens! Holding an object in your hand is an extremely powerful thing because it directly connects to you with the world. Staring at your PCB design on a screen reinforces the disconnect between the object and the human. The Series 1 kits were initially designed after some foamboard prototyping and this enabled the board size, layout and form to be tested in a quick and easy way. This method also reduced design costs by highlighting bad design concepts early on.

4. Admit mistakes. Rectify them. Move on. Mistakes can be painful, annoying and costly - the big ones can put you off continuing altogether. Especially if it is the result of your own stupidity. However:
GET OVER IT. MOVE ON.
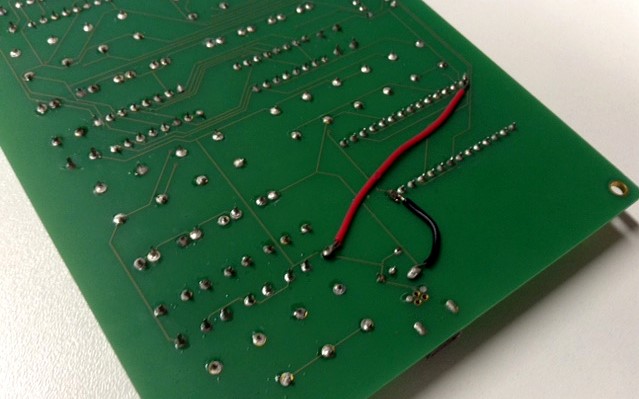
I made a few really silly mistakes with the early prototypes boards. At one point I produced a PCB where all the ICs were soldered to an unconnected ground line - this was only noticed after some strange voltage drops. A silly mistake, but I fixed it and moved on.

5. Focus on progress, not on how far you have to go. Focusing on how far you have to go is always demoralising because you are reminded of the effort required to climb the metaphorical mountain. But if you focus on progress the view from the mountainside only gets more impressive. It’s a subtle cognitive trick, but it works.
And for this project I’ve taken the time to step back now and again to admire the view. Because the process of crafting a new soul, no matter the form, is always a hugely rewarding experience.
Note by: Richard.
Founder of ARITH-MATIC.
Updated March 2019.
To find out more about the S1-AU Mk1 please visit our DIY Electronic Kits page.


